The topknot is set using landmark points on the skull as reference. The clipped line on the sides of the face that helps to establish the topknot runs from the ear canal opening to the back corner of the eye.
For efficient clipping, it’s important to gently stretch the skin back toward the ear, but not up into the topknot area. Stretching the skin upward will destroy the natural, straight line from the ear canal to the back of the eye. Continue clipping forward, under the eye and down the bridge of the nose.
At the stop area, clip an inverted “V” to give definition to the eyes and to lengthen the muzzle. If you are clipping the face cleanly, work over the muzzle area and the lower jaw. If you are leaving a mustache, clip a diagonal halfway down the nose, leaving fur on the end of the muzzle.
To easily clip the lip area, place a finger at the back corner of the mouth and stretch the skin. Be careful not to catch the smooth skin ridges just on the inside of the lips on the lower jaw.
For safety, ride that area with only the edge of the clipper blade, minimizing the chance of the ridges slipping between the cutting teeth. Hold the clipper softly, in a supple hand, as it glides over the skin.
Some owners prefer a mustache at the end of the muzzle on poodles and mixed breeds. Most mustaches start just before the back corner of the mouth.
For the upper jaw, or nose, follow a line from the back of the mouth forward to about halfway to the nose on a diagonal.
For the lower jaw, come forward just a bit to create a goatee. By clearing the very back mouth corner of hair, you will get a neat appearance when the pet opens its mouth to pant.
An easy way to create a pet mustache is with a clipper. Based on the size of the pet and fullness of the mustache, blade choices range from a No. 4F to a long guard comb. Work with the grain to remove the bulk of the coat. Then follow up with some light hand shaping with scissors or thinning shears. When trimming around the muzzle area, make sure to hold the mouth firmly closed to keep the tongue in the mouth.
The pattern for the neck and throat is shaped in a “V”. It accentuates a long and elegant neck. The “V” will start at the ear bulbs and plunge downward, stopping a few inches above the breastbone. Some stylists use the end of the nose as a general reference point for setting the depth of the V-shaped neckline.
While the dog is standing squarely, ask the dog to tip its nose toward the chest. Where the end of the nose falls is the lowest point of the neckline. If the dog has a very short muzzle, the line may be drawn slightly farther down.
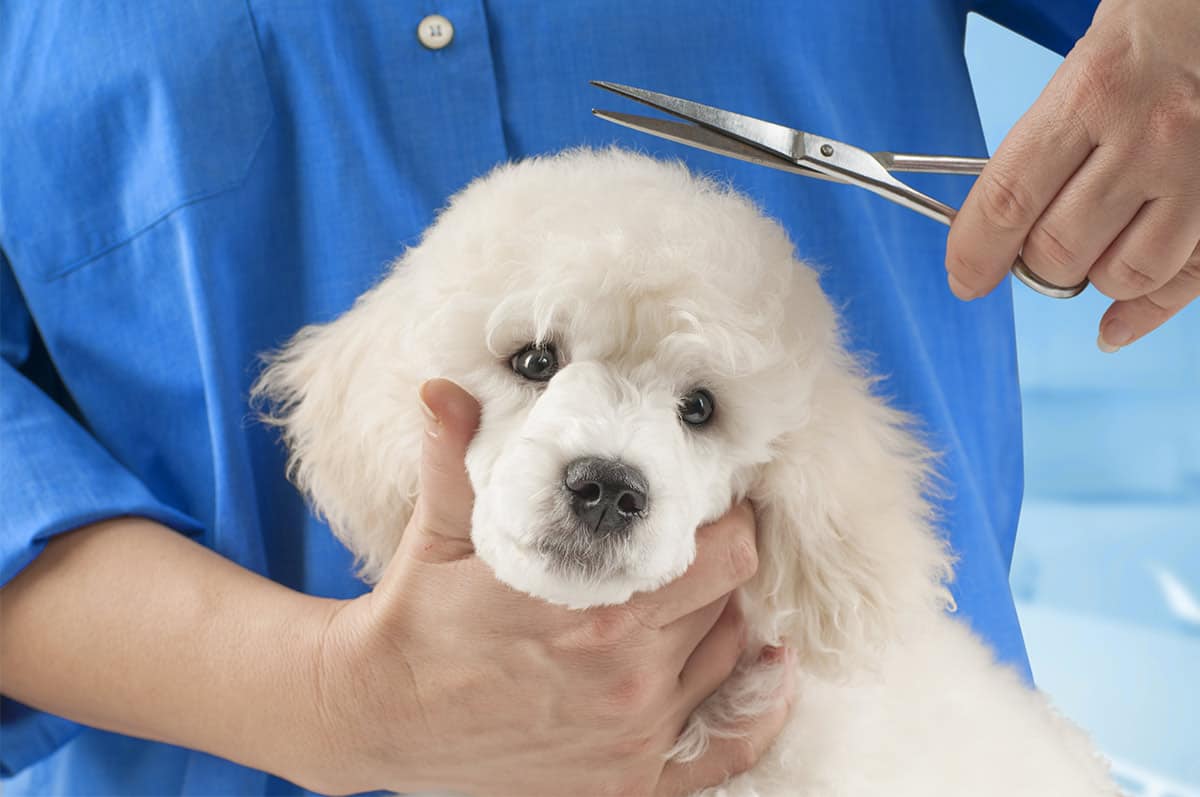
There are many methods for trimming topknots, but here is an easy one for the floppy type we commonly see. We call it the side, side-front, back method. Once the face has been clipped. the topknot can be shaped for poodle styled topknots.
Comb all the hair over to one side. Flip the ear over the top of the head to minimize the risk of nicking the ear leather where it joins the skull. Glide a pair of opened, straight shears under the clipped line that separates the check from the topknot.
Rest the lower blade of the shear softly on the skin. Bevel the shear slightly away from the skin to avoid catching the skin between the blades when they close. Flip the ear over and glide the shear over the top of it, right at the junction point of the skull and the leather.
Again, bevel the shear slightly and cut. Continue the line around the ear, wrapping right around the base of the ear. Join the topknot line with the neckline so it is one, flowing line. Repeat the process on the opposite side of the head.
Next, comb all the hair forward over the eyes. Glide the opened shear in at a steep bevel. The fur just above the eyes will be very short, but longer as it gently angles away. Once set, this stacked ledge holds hair away from the eyes and gives them a deep-set appearance, creating an intelligent expression for the pet. For the last line, comb all the hair to the back and blend the fur into the neck.
When trimming behind the topknot, hold the dog’s head in an upright natural position so the top edge of the topknot is not removed in the trimming process. Fluff the topknot with a comb. Give the ears a small tug-tug, alternating between ears to simulate a mild, natural head shake. With curved shears, round the top edge and check that all lines are well blended, neat and clean. Check the work from all angles, front, side and rear.
The goal of this head style is to accentuate the regal, elegant and intelligent look of a Poodle and Poodle type mixes. Whatever the shape, the topknot should always be a well balanced extension of
the skull. It should be impeccably neat and symmetrical. On the Chinese Crested and Irish Water Spaniel the topknot is left more natural in shape while the clipped lines are clean and crisp.
Tips For Creating a Clipped Face with a Topknot
- For most pets, a No. 10 used in reverse with a soft hand and a relaxed wrist is safe and will not cause clipper irritation. Occasionally, on dark skinned pets, a closer blade can be used without harming the skin. On light colored pets or very thinly coated pets, a longer blade is a better choice to minimize the risk of clipper sensitivity.
- In most cases, going against the grain will give you the cleanest results and the most immaculate lines. On pets that are prone to clipper irritation, a longer blade or a blade used with the direction of the coat growth may be a better option, even though quality is usually compromised.
- To discern the line that separates the topknot from the face, feel for the bony ridge that runs parallel from the back corner of the eye to the ear canal opening. This is the line you will use for your clipper work. Use care when clipping as to not stretch the skin which can give you a false vision of where this lies.
- Mustaches can easily be created by using a No. 4F or longer blade to set the length. Once the length is set, only minor trimming is required by hand.
- The coat over the eyes should be steeply beveled, creating a deep-set eye and an intelligent expression.
- The topknot on a Poodle or a Poodle-mix should be an extension of the skull. The cheekbones will help distinguish your guidelines for the size and shape of the topknot. The height of the topknot should be roughly as high as the distance between the back corners of the eyes.
- When gliding shears over the tops of the ears, always lift the tips of the shears before you cut to ensure you have only fur between your shear blades and not a section of the ear leather.
- When setting the topknot lines at the side of the face, always bevel your shears away from the dog to minimize the risk of cutting the skin.