It is fairly easy to create your own stencil temporary tattoo for your dog. Best works on short-haired dogs.
Stencils can be purchased at beauty stores (they are the same ones used for humans) or you can easily create your own. Although the stencil technique is relatively easy, it will require your dog to stay still for a few minutes.It is very important to take into consideration your dog’s temperament and attention span when selecting the area and complexity of the design. Most dogs will find it easier to relax when they are resting on a nice pillow and enjoying some quiet music to distract them.
Creating Your Own Stencil
Start by drawing or printing the chosen design in the desired size. Attach the paper to atable with tape to be sure it doesn’t move and then secure a piece of clear self-adhesive contact paper on top of the printed design with tape.
Trace over the artwork with a fast-drying pen. The cheaper the contact paper, the better the result because the paper is made with less glue (making it easy to apply and perfect for a one-time use). With the help of a precision-cut craft knife (available from art supply stores) or a small box cutter, carefully trace the whole design.
Be sure that every angle is connected so the design will completely separate from the background and expose only the areas where the color will go through.
Attaching the Stencil
Gently wipe the area to be stenciled with a piece of gauze or a paper towel dampened with just a bit of rubbing alcohol to be sure the area is clean of oils or products such as leave-in conditioners. After the area is completely dry, gently place and press on the stencil that you have already removed from the nonadhesive paper.
Pat gently with your hand to be sure it grabs as much hair as possible. If the dog has soft hair, especially dogs that are shaven down, spray the coat with a little hair spray to keep the soft hairs in place.
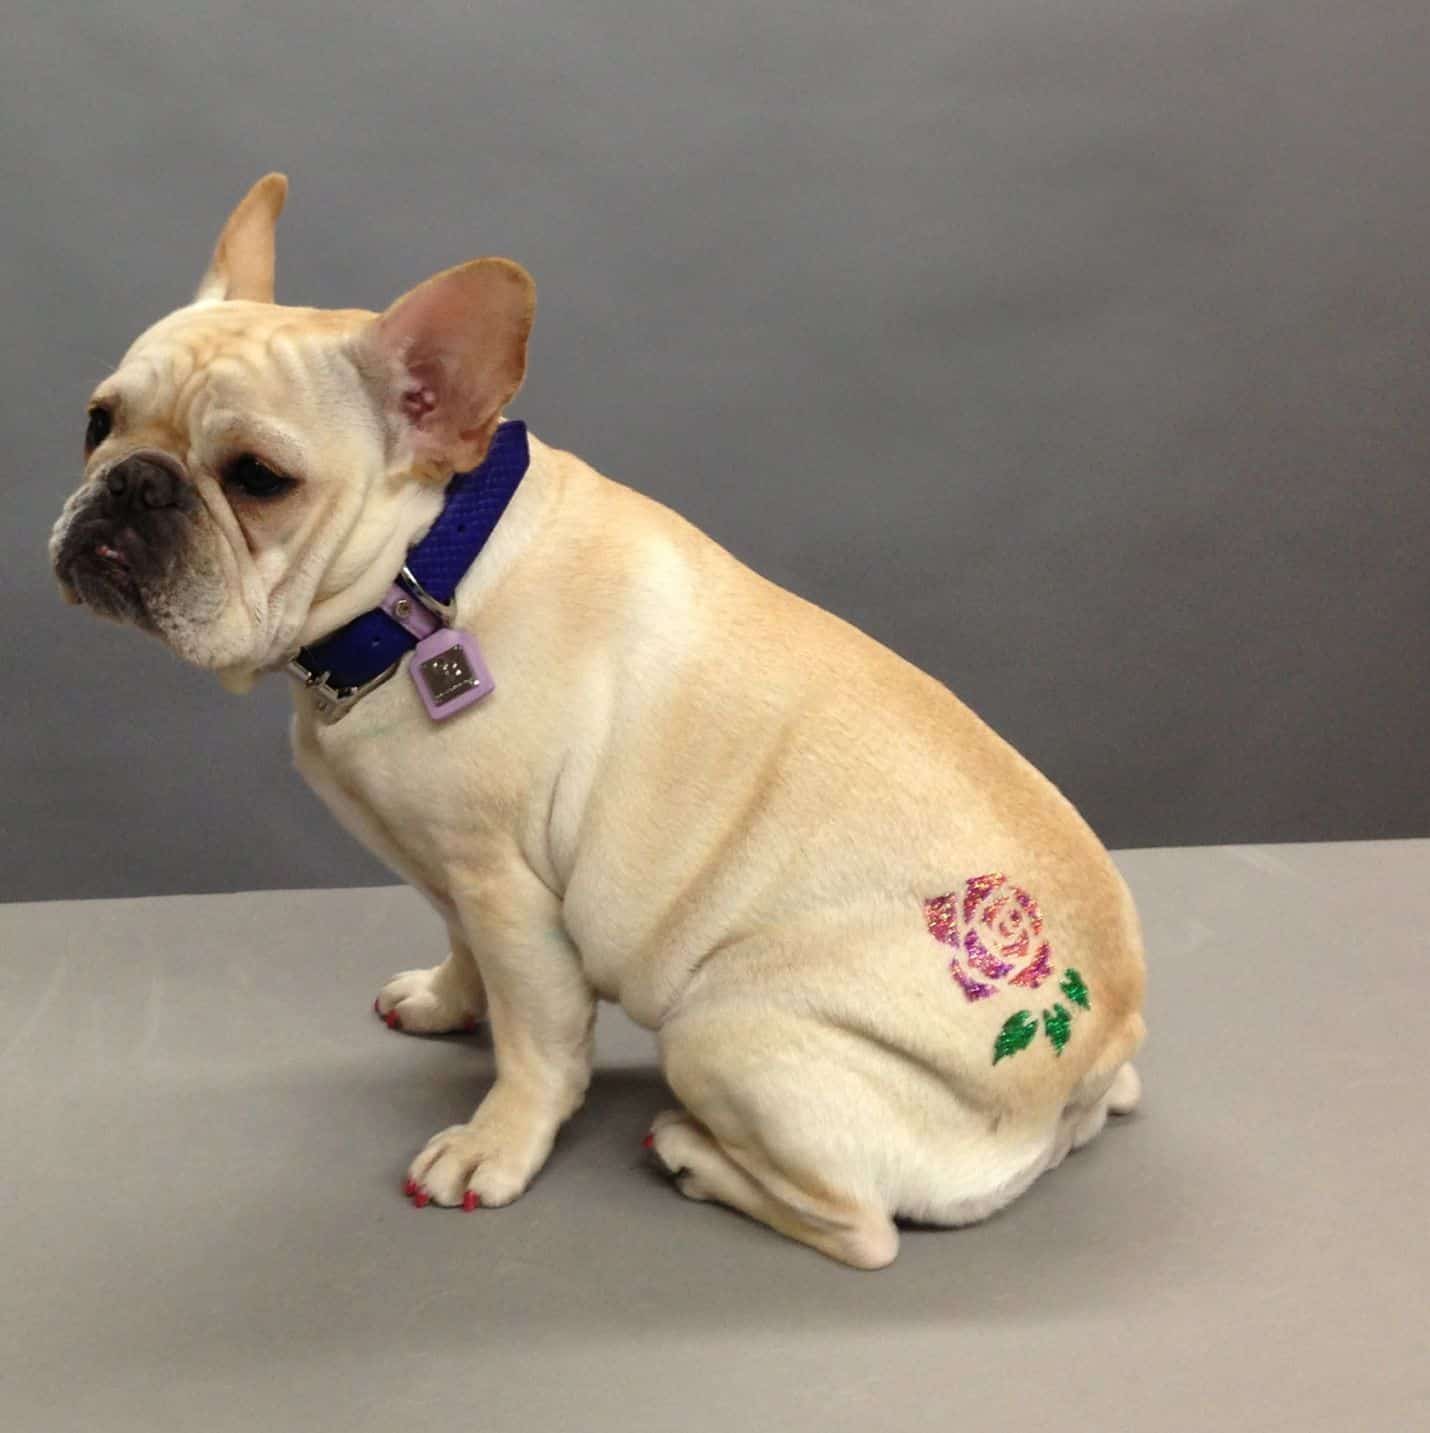
Glitter Tatto
To apply a glitter tattoo, first apply the glue. If you don’t have glue specifically made for dogs, use water-based nontoxic glue (available in the children’s section of arts and craft stores).
Let the glue dry a little before applying colors. This will give the design sharper edges and keep the colors from bleeding or dripping because of wet and running glue. Apply the glitter with a dry brush or carefully pour it over the designated pre-glued areas.
Use a dry brush to gently remove excess glitter. Gently blowing over the glue will accelerate the drying process. Apply a thin coat of hair spray to protect the design and keep the glitter in place.
The final step is to carefully remove the stencil following the direction of the hair growth.
Temporary Inked Tattoo
Follow the directions for applying the stencil, then apply nontoxic ink with a brush over the stencil. Allow to dry and then spray with hair spray to protect the design. Remove the stencil following the direction of the hair growth.
Nail Painting
Wearing painted nails is another way for short-haired dogs to make a fashion statement.
Dog nail polishes are specifically designed to be fast-drying so that they are easier to use and will help avoid smearing color all over the dog’s pawdicure. The pet market now also offers water-based nail polish pens that are nontoxic and easy to use and remove.
Start by giving your dog a nice leg and paw massage to continue with the overall spa atmosphere that will help your dog relax. Then place your dog on a towel or other comfortable surface that will be easy to clean in case nail polish gets on it.
Holding the dog’s paw in the palm of your hand will give you a good grip in a natural position, and it won’t make the dog feel uncomfortable or excessively restrained.
Slowly separate your dog’s toes to have full access to the nail from all sides. It is not necessary to paint the nails all the way to the root because the base of the nail will be covered with hair.
On dogs with long hair, it is a good idea to cover the paw with a piece of kitchen-grade stretch film. Let the nails poke through and pull back the film, which will keep the hair out of the way and expose the nails, making them easier to paint.